Keyboard-first command palettes like Spotlight or Alfred are a great way to enable powerful interactions. They’re fast, support open input and users are familiar with the pattern.
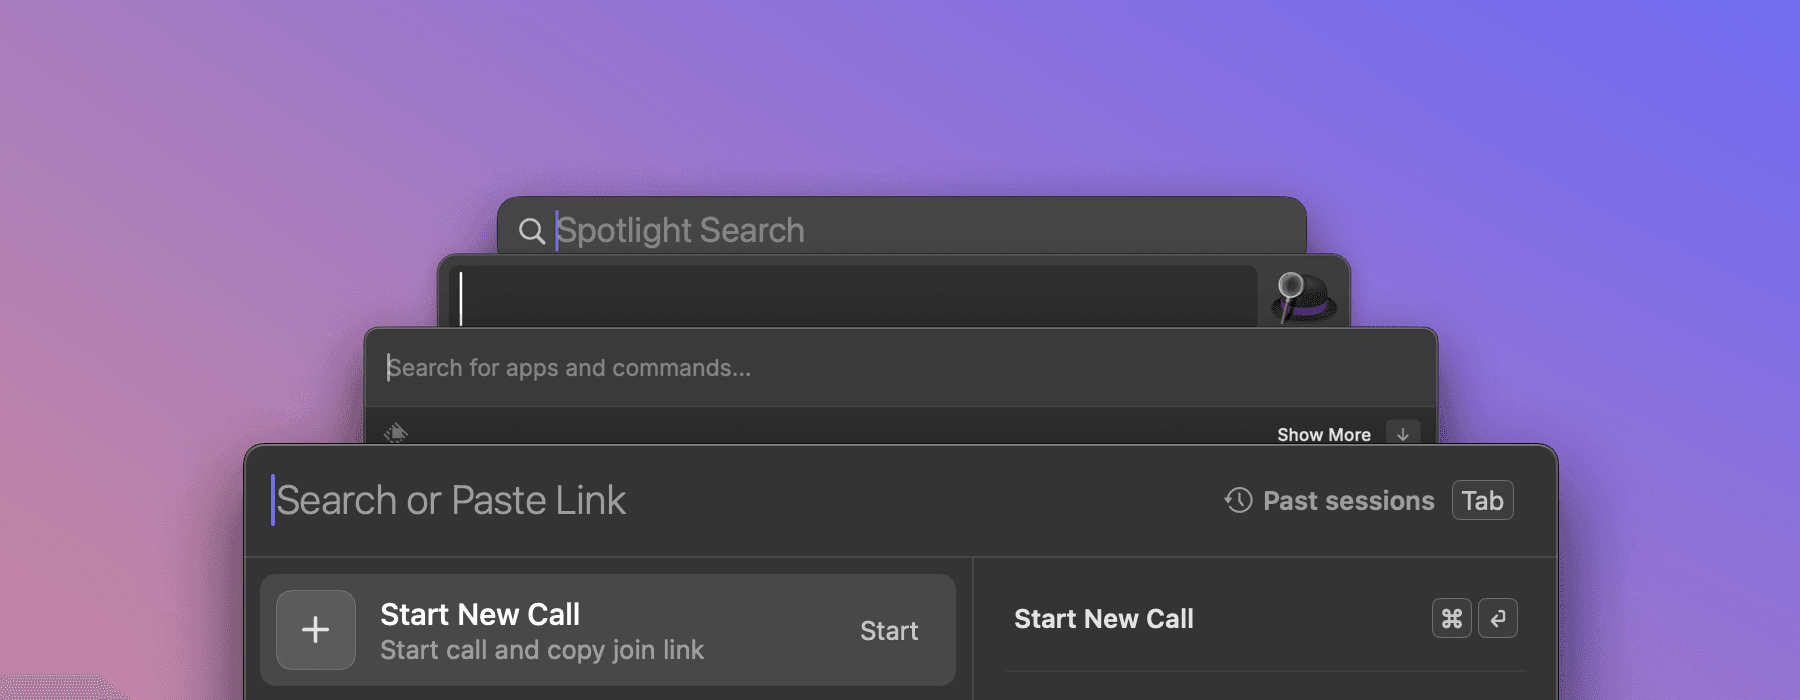
Multi is a pair programming tool that makes any app collaborative. We want it to feel like a multiplayer extension that’s native to macOS. So, taking inspiration from Raycast, you launch sessions via a command palette.
It was easy to get our “launcher” working 99% correctly. However, the last mile of polish, particularly around activation policy, proved challenging…
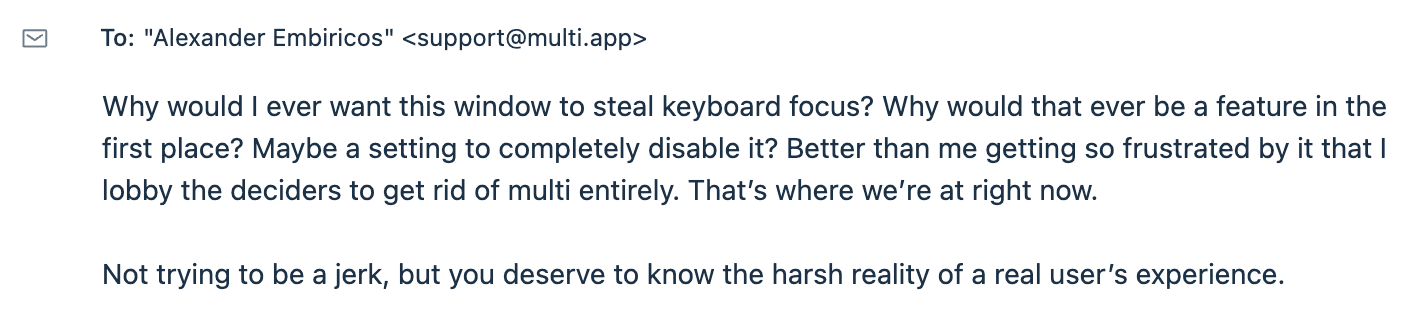
This feedback was completely understandable, and helped us catch a difficult edge case.
Activation Requirements for a Command Palette App
Here’s the spec that we think any command palette must follow, including Multi’s launcher:
Show when the user clicks the menubar icon or presses a global keyboard shortcut.
Interacting with the palette should not activate the owning app, so that closing the palette returns the user to their prior activated app state.
Outside of the above, run completely in the background. This means launching and autoupdating without showing any UI or activating—even for a moment.
Additionally, but perhaps more uniquely to our case, Multi has a dock icon which users can choose to hide. (In fact, this icon is on by default for new users because that’s a more standard app behavior. Power users can then chose to hide it.) This adds a requirement:
When the dock icon is shown, show when the user clicks the dock icon or CMD+Tabs to it.
When users wrote in about specific edge cases that weren’t behaving properly, we were tempted to (and in fact our CEO tried to) merge bandaid fixes to those specific edge cases users told us about.
However, as the edge cases continued trickling in, we found that the only solid approach was to deeply understand the AppKit APIs we were working with, and to set them carefully and methodically. Here’s what we learned.
Sample App in Github
(If you'd prefer to just read, run, and tweak the code yourself, check out the sample app at https://github.com/multi-software-co/multi-app-activation-demo.)
1. Activation Behavior
The default behavior of a macOS app is to have an icon in the dock and activate itself when interacting with its windows.
To change it, we can use the NSApp.setActivationPolicy(_: ActivationPolicy) method.
There are three activation policies available:
.regular: The application is an ordinary app that appears in the Dock and may have a user interface..accessory: The application doesn’t appear in the Dock and doesn’t have a menu bar, but it may be activated programmatically or by clicking on one of its windows..prohibited: The application doesn’t appear in the Dock and may not create windows or be activated.
Examples
To prevent unwanted app activation while still being able to interact with the windows, we can use the .accessory policy. Let's set it inside our app's init method:
One small detail - we may still briefly see the icon when the application is launched:
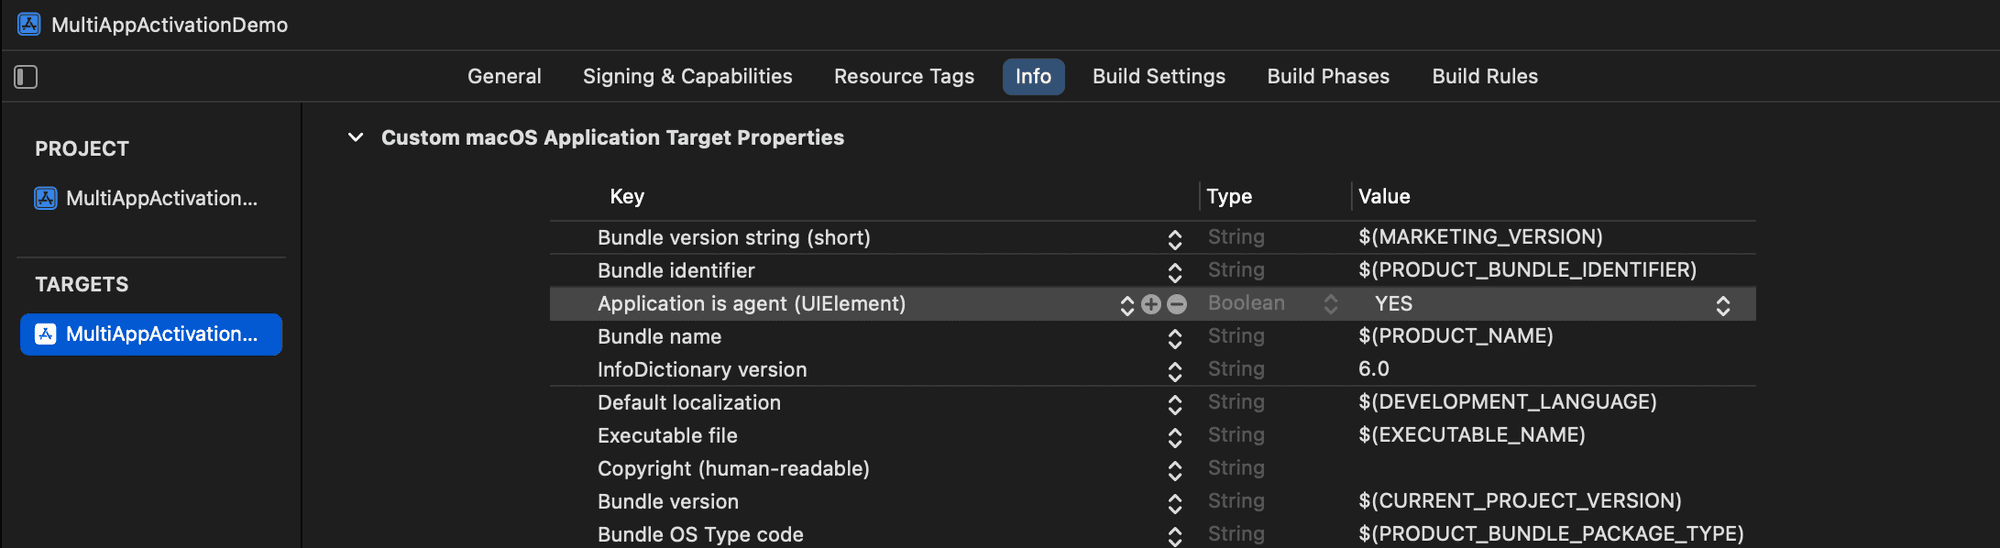
What if we don't want to show the dock icon at all?
To achieve that, we can use the LSUIElement key in Info.plist. Let's add a new entity called "Application is agent" to the target properties list and set its value to "YES".
and we can remove the NSApp.setActivationPolicy() block that we added earlier.
The dock icon will no longer appear on launch!
However, you may notice that even though our app does not display any windows and does not have a dock icon, it still steals focus from the active app. Here's an example of Finder deactivating when we launch the app:
To improve this, we can add NSApplicationDelegate to our app and set the activation policy to .prohibited in the applicationWillFinishLaunching(_:) method. Then, in the applicationDidFinishLaunching(_:) method, we can set the activation policy to .accessory(or .regular if we want the dock icon to be visible).
This way, the app will launch without stealing focus.
Example of using the .regular activation policy to launch the app silently, without deactivating Finder:
2. Window
We were able to launch the app silently. Now let's set up our window.
To show the launcher by pressing the dock icon, we need to return it to the dock by setting the activation policy to .regular.
We will subclass the NSWindow:
And then add it to the App Delegate to show it when the app becomes active:
The launcher window will appear when the app is launched and whenever we activate it by clicking on the dock icon or by using the cmd+tab shortcut.
The good thing is that our app continues to launch in the background without stealing focus.
However, there are a couple of issues:
We can see the launcher window, and it is the key window, but we are unable to interact with it without clicking on it.
After closing the launcher window, our app remains active. However, we expect it to behave similarly to macOS's Spotlight (or Raycast) by resigning the active state and returning focus to the previous application.
To fix the first issue, we need to subclass NSPanel instead of NSWindow in our MultiAppWindow class. Additionally, we should add the .nonactivatingPanel style mask to it.
After doing that, we will be able to interact with the window even when the app is not active. Additionally, we have got the dismiss behavior by pressing the Esc button for free.
However, in the cases where we are able to activate the app, we need to resign the active state of our app after closing the launcher. We can achieve this by do some overrides in our MultiAppWindow class.
We override the close() method and add NSApp.hide() to deactivate the app after closing the window.
By overriding the cancelOperation(_:) and resignKey() methods, we ensure that our launcher will be closed when the user presses the Esc key or selects another window.
If we need to replicate the same behavior as with NSWindow - activating the app when the window becomes key - we can simply override the becomeKey() method.
That's it! Now we have an app that behaves following the spec:
Show when the user clicks the menubar icon or presses a global keyboard shortcut.
Interacting with the palette should not activate the owning app, so that closing the palette returns the user to their prior activated app state.
Outside of the above, run completely in the background. This means launching and autoupdating without showing any UI or activating—even for a moment.
When the dock icon is shown, show when the user clicks the dock icon or CMD+Tabs to it.
My next post will be about the design system I created for Multi’s other windows, such as its call controls, screenshare, settings and more. Let me know what you think, or if there’s anything you want me to cover, at @artlasovsky on Twitter/X, or via email (art at multi dot app).
In the meantime, if you’re interested in more posts about (~hacking~) methodically integrating with macOS, check out Pushing the limits of NSStatusItem beyond what Apple wants you to do by my teammate John Nastos.
